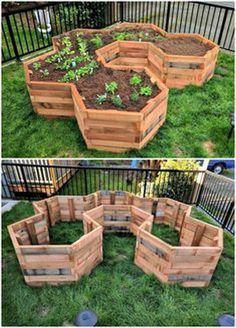
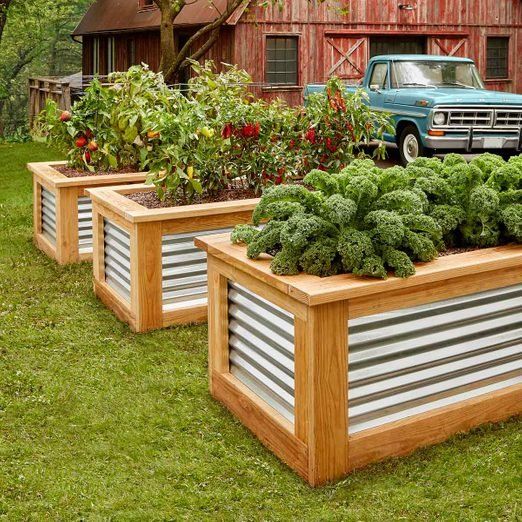
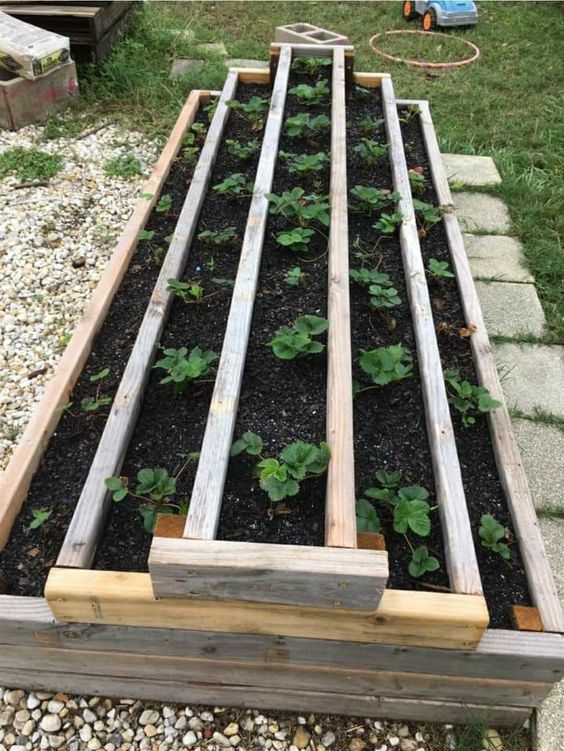
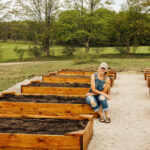
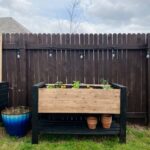
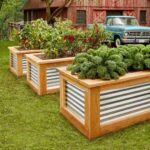
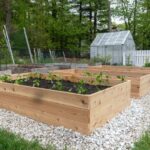
Raised garden beds are a popular method of gardening that offer numerous benefits to both experienced and novice gardeners. These beds are elevated above the ground, allowing for better drainage and soil quality, as well as easier access for planting, weeding, and harvesting. Many gardeners opt to build their own raised garden beds as a cost-effective and customizable option.
To create a DIY raised garden bed, first choose a suitable location in your yard or garden. Make sure the area receives adequate sunlight and is easily accessible for watering and maintenance. Next, determine the size and shape of your raised bed. Common dimensions for raised garden beds are 4 feet by 8 feet, but you can adjust the size to fit your space and needs.
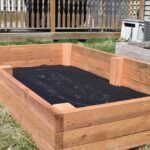
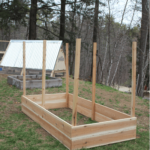
Once you have selected a location and size for your raised bed, gather materials to build the frame. Cedar or redwood are popular choices for raised bed construction, as they are naturally rot-resistant and durable. You will also need screws, a drill, and a saw to assemble the frame. Cut the lumber to the desired dimensions and secure the pieces together to form a sturdy frame.
After constructing the frame, prepare the site by clearing away any grass or weeds. Line the bottom of the raised bed with landscape fabric to prevent weeds from growing up into the bed. Next, fill the bed with a mixture of soil and compost to create a nutrient-rich growing environment for your plants.
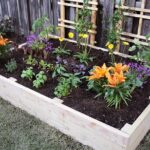
Once the raised bed is filled with soil, it is ready for planting. Choose a variety of vegetables, herbs, or flowers to fill your raised bed, taking into account the specific sunlight and water requirements of each plant. Regularly water and maintain your raised bed garden to ensure healthy growth and abundant harvests throughout the growing season. With some time and effort, you can enjoy the benefits of a thriving DIY raised garden bed in your own backyard.
