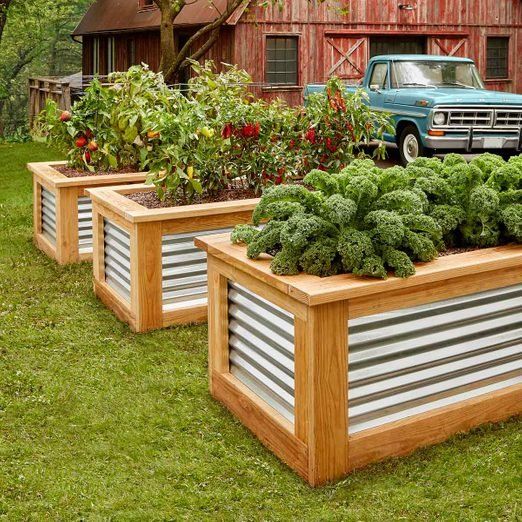
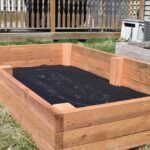
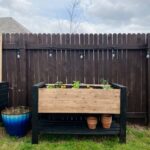
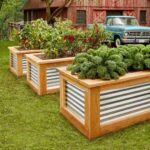
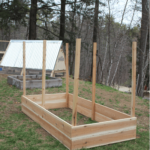
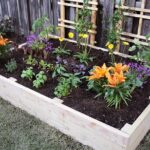
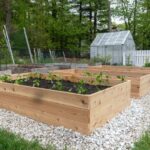
Raised garden beds are a popular choice for many home gardeners looking to create a beautiful and organized space for their plants. These beds offer a number of advantages, including improved drainage, better soil quality, and fewer weeds. And the best part? You can easily build your own raised garden bed with just a few materials and some basic DIY skills.
To get started, you’ll need to gather some supplies. You’ll need untreated wood, such as cedar or cypress, which is resistant to rot and pests. You’ll also need screws or nails, a saw, a drill, and a level. Once you have everything you need, it’s time to start building.
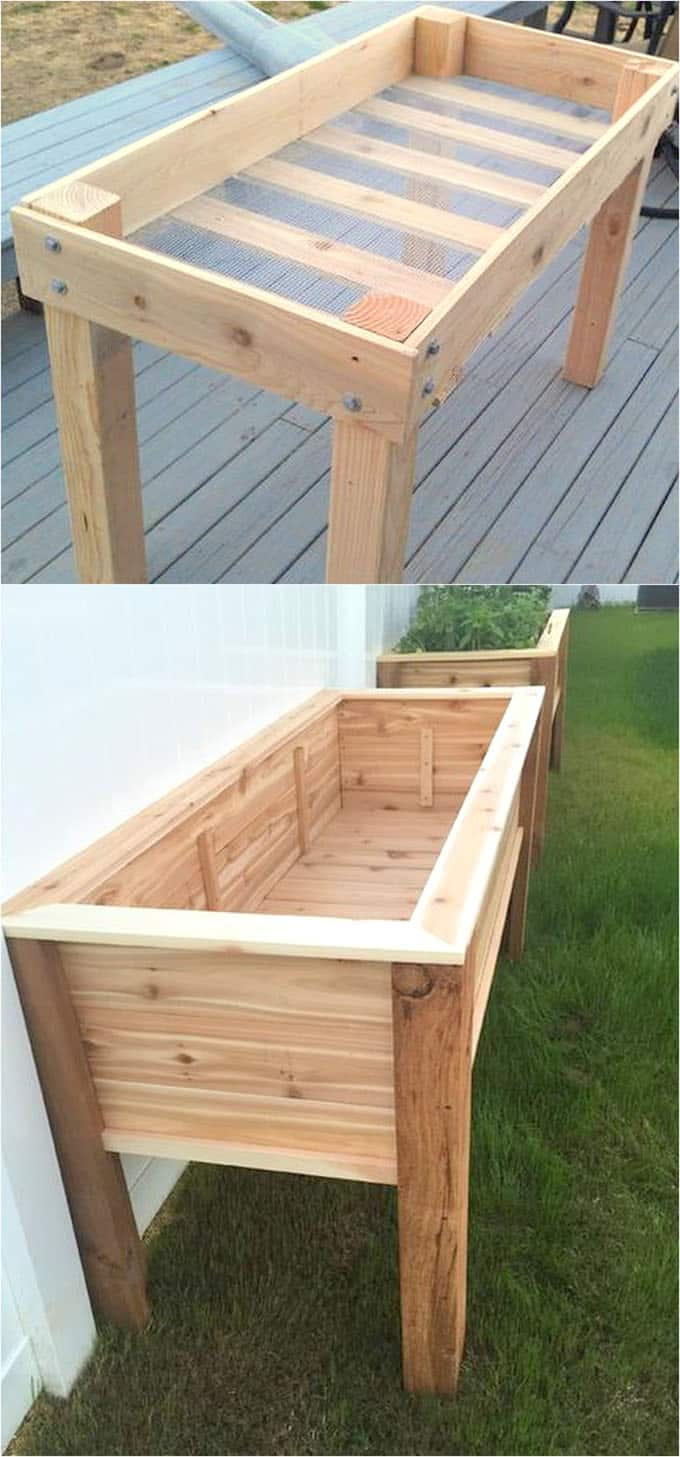
First, determine the size and shape of your raised garden bed. You can create a rectangular bed, a square bed, or even a circular bed, depending on your preference. Once you have your dimensions, cut your wood to size using a saw. Be sure to measure carefully and use a square to ensure that your corners are straight and your bed is level.
Next, assemble your bed by attaching the boards together with screws or nails. You can choose to stack multiple boards on top of each other for added height, or you can use corner brackets to connect the boards at right angles. Make sure to check for levelness as you go to ensure that your bed is stable and even.
Once your bed is assembled, it’s time to fill it with soil. You can use a mixture of topsoil, compost, and peat moss to create a nutrient-rich environment for your plants. Be sure to water your bed thoroughly after filling it to help settle the soil and remove any air pockets.
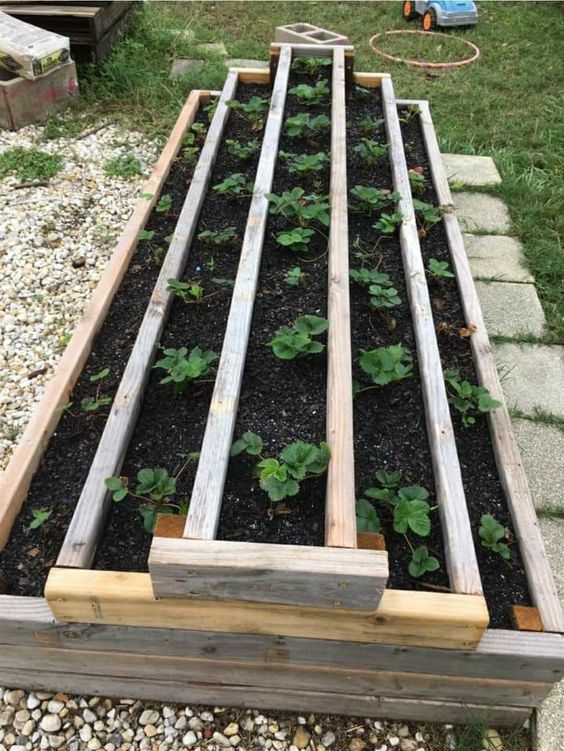
Finally, it’s time to plant your garden. You can grow a variety of plants in your raised bed, from flowers to vegetables to herbs. Be sure to choose plants that are well-suited to your climate and that will thrive in the raised bed environment. With a little care and attention, you’ll soon have a beautiful and productive garden that you can enjoy all year round.
