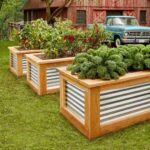
Raised garden beds are a popular choice for many gardeners looking to maximize their gardening space and create a more easily accessible garden. Building your own raised garden bed can be a fun and rewarding DIY project for garden enthusiasts of all skill levels. With just a few materials and some simple steps, you can have a beautiful and productive raised garden bed in no time.
One of the first steps in creating a raised garden bed is to choose the location for your garden. Select an area with good drainage and plenty of sunlight for optimal plant growth. Once you have chosen a spot, measure out the dimensions for your raised bed and mark the perimeter with stakes or twine.

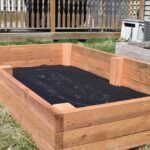
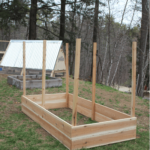
Next, gather your materials. You will need lumber, screws, a saw, and a drill to construct your raised garden bed. Cedar or redwood are popular choices for lumber, as they are naturally rot-resistant and can withstand the outdoor elements. Cut your lumber to the desired dimensions for your raised bed, taking care to ensure that the corners are square.
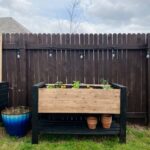
Assemble your raised garden bed by screwing the pieces of lumber together at the corners. Reinforce the corners with metal brackets for added stability. If you prefer a taller raised bed, you can stack additional layers of lumber on top of each other and secure them with screws.
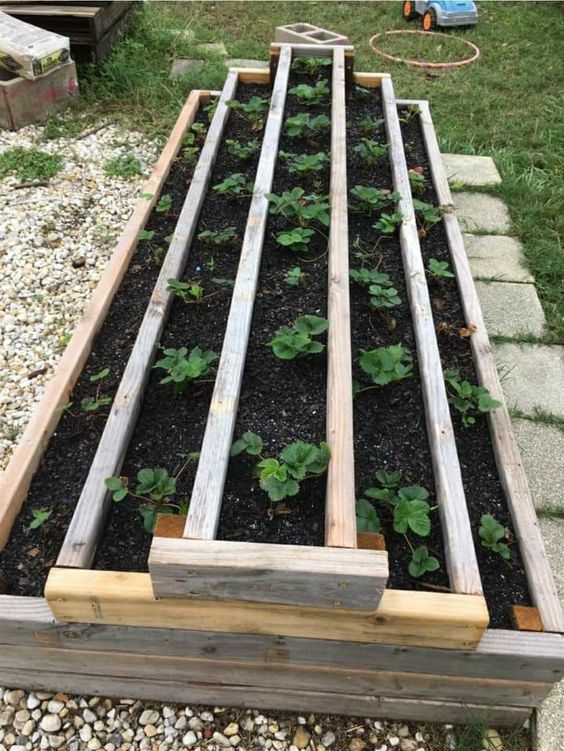
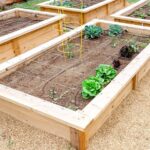
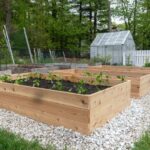
Once your raised garden bed is assembled, fill it with a mixture of topsoil, compost, and peat moss to create a nutrient-rich growing environment for your plants. Be sure to water the soil thoroughly before planting your seeds or transplants.
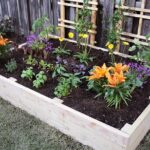
Finally, start planting your garden! You can grow a wide variety of fruits, vegetables, herbs, and flowers in your raised garden bed. Make sure to water and fertilize your plants regularly to promote healthy growth and maximize your garden’s productivity. With a little bit of time and effort, you can enjoy the many benefits of a DIY raised garden bed in your own backyard.